The Ultimate Guide to Growing Microgreens
Fresh greens in the middle of winter? You don't need an allotment, greenhouse or even a garden to grow microgreens. A sunny windowsill and a little patience are all you need!
As November arrives and the allotment begins to slow down, it's easy to think the growing season is over. But while temperatures drop and daylight hours shorten, there's one crop you can continue growing throughout the winter – microgreens.
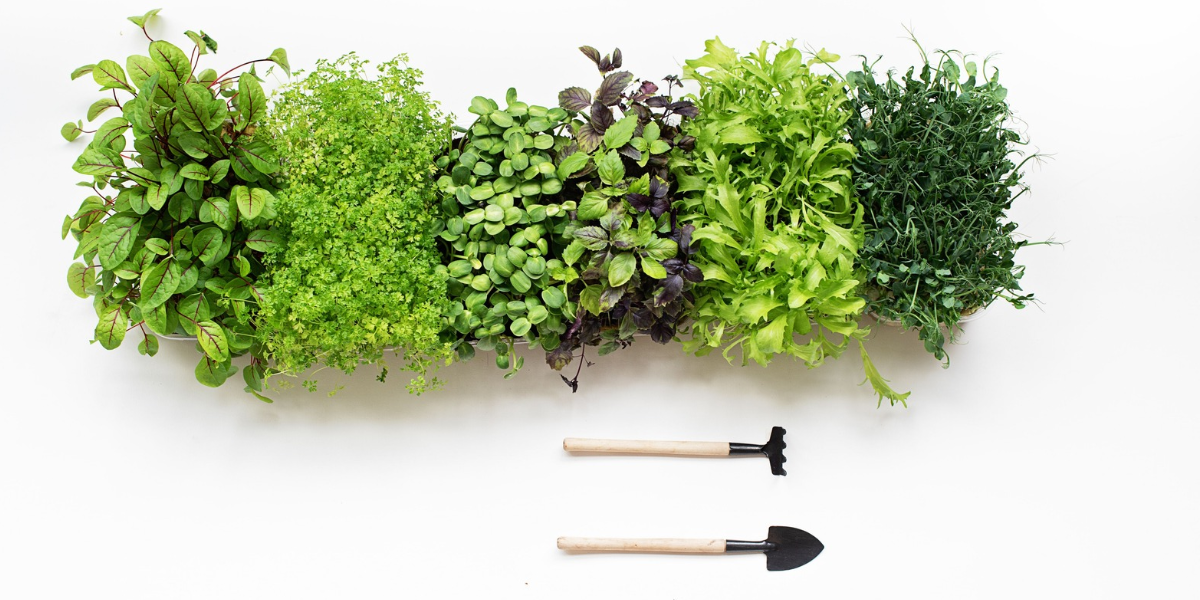
Whether you're an experienced allotment holder missing your growing fix or a complete beginner looking to try something new, microgreens are a great way to keep growing all year round.
What are microgreens?
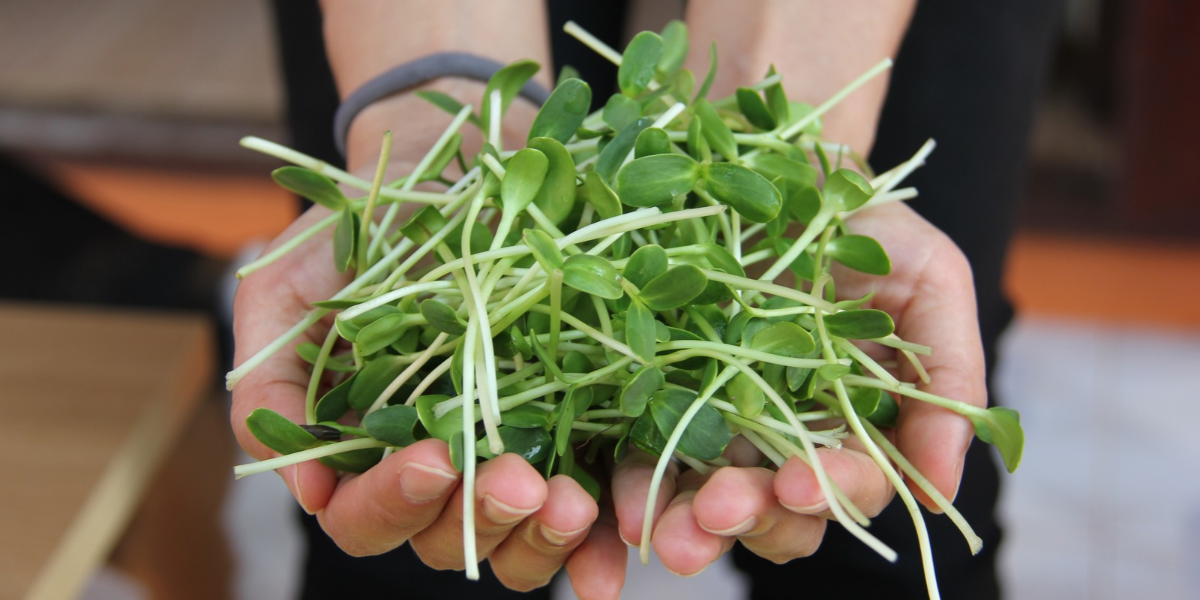
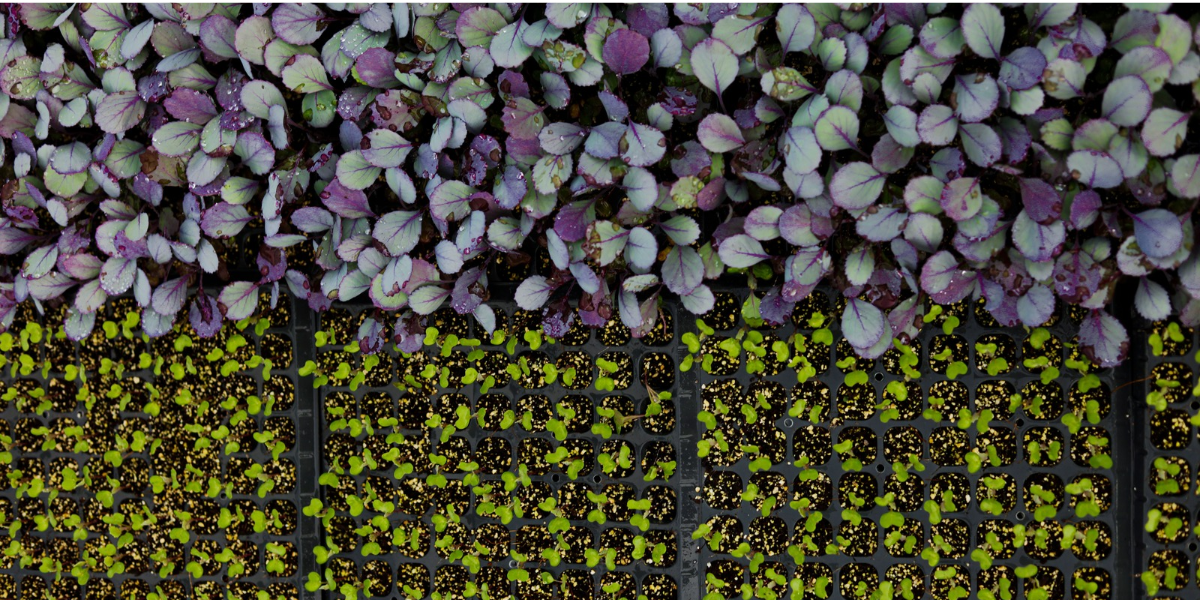
Microgreens are young vegetable and herb seedlings harvested shortly after their first true leaves begin to appear. They're grown from many of the same seeds you might sow on your allotment, but instead of waiting weeks or months for a mature crop, you harvest them when they're just a few centimetres tall.
They're different from sprouts, which are usually grown in water and eaten whole, including the root. Microgreens are grown in a growing medium and harvested by cutting the stems just above the surface.
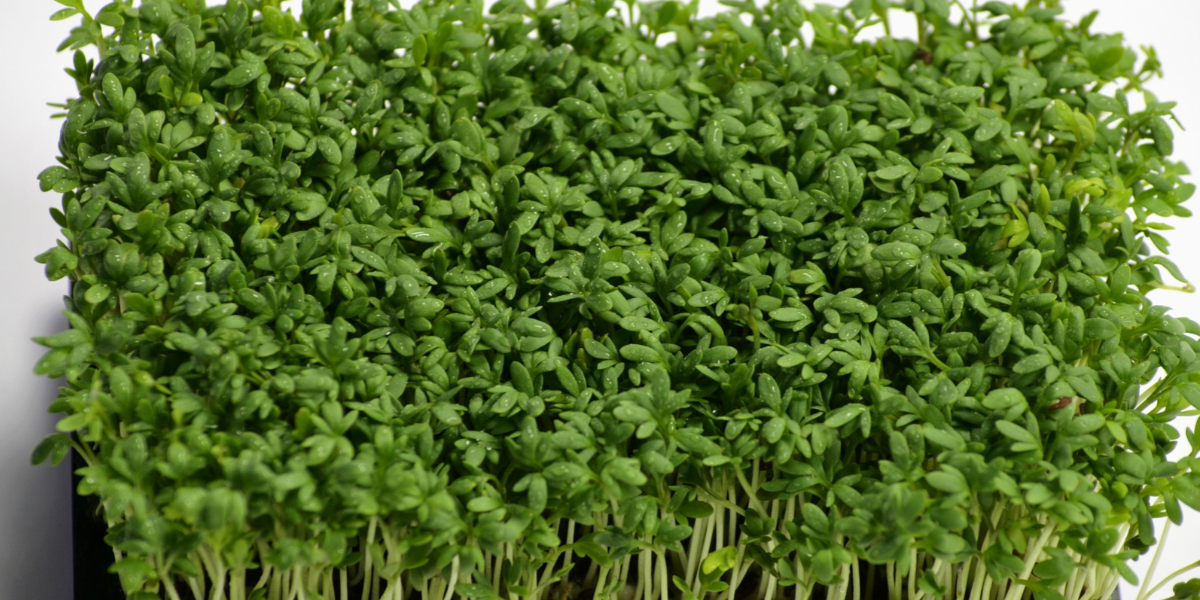
Despite their size, microgreens can deliver surprisingly intense flavours. Radish microgreens have a peppery kick, pea shoots taste sweet and fresh, and young broccoli greens have a mild brassica flavour.
Why grow microgreens in November?
November might not seem the obvious month to start sowing seeds, but microgreens are particularly well suited to indoor winter growing. - Grow all year round: No need to wait until spring to start sowing.
- Quick results: Many varieties are ready in just one to three weeks.
- Very little space needed: A windowsill or small shelf is often enough.
- Low cost: You can start with a shallow container, compost and suitable seeds.
- Fresh winter produce: Add home-grown flavour to meals when outdoor harvests are limited.
- Ideal for beginners: A simple introduction to growing your own food.
- Microgreens are also a great activity for children, offering a chance to watch seeds germinate, grow and become something delicious in a matter of days.
The best microgreens to grow
Not all microgreens grow at the same speed or offer the same flavour. If you're just starting out, choose varieties that germinate reliably and grow quickly. For beginners, radish, broccoli and peas are particularly good choices. They're relatively straightforward to grow and offer very different flavours.
One important point: always use seeds suitable for growing edible microgreens. Avoid treated seeds, and don't grow microgreens from tomato, potato, aubergine or pepper seeds, as these members of the nightshade family are unsuitable for eating as young seedlings.

How to grow microgreens step by step
You don't need specialist equipment or an expensive indoor growing system. Most of what you need may already be in your shed or kitchen.
What you'll need
- A shallow seed tray or clean recycled food container with drainage holes
- Seed compost or another suitable, clean growing medium
- Seeds intended for edible microgreen production
- A spray bottle or small watering can
- A bright windowsill or grow light
- Clean scissors for harvesting
Step 1 – Prepare your container
Fill a shallow tray with around 2–4cm of moist seed compost. Level the surface and press it down gently. The compost should be damp, but not soaking wet
Step 2 – Sow your seeds
Scatter seeds evenly across the surface. Microgreens are grown more densely than normal seedlings, but avoid piling seeds on top of each other. Follow any covering or soaking instructions for your chosen variety.
Step 3 – Water gently
Mist the seeds or water carefully from below. Keep the growing medium evenly moist throughout germination, without allowing it to become waterlogged.
Step 4 – Provide warmth and light
Place the tray somewhere suitable for germination, following the seed instructions. Some varieties benefit from a short initial covering. Once seedlings emerge, move them into bright light and remove any cover to encourage healthy growth and airflow.
Step 5 – Harvest your microgreens
Most varieties are ready when their seed leaves have fully opened and their first true leaves are beginning to develop. Use clean scissors to cut the stems just above the growing medium.
Growing microgreens on a winter windowsill
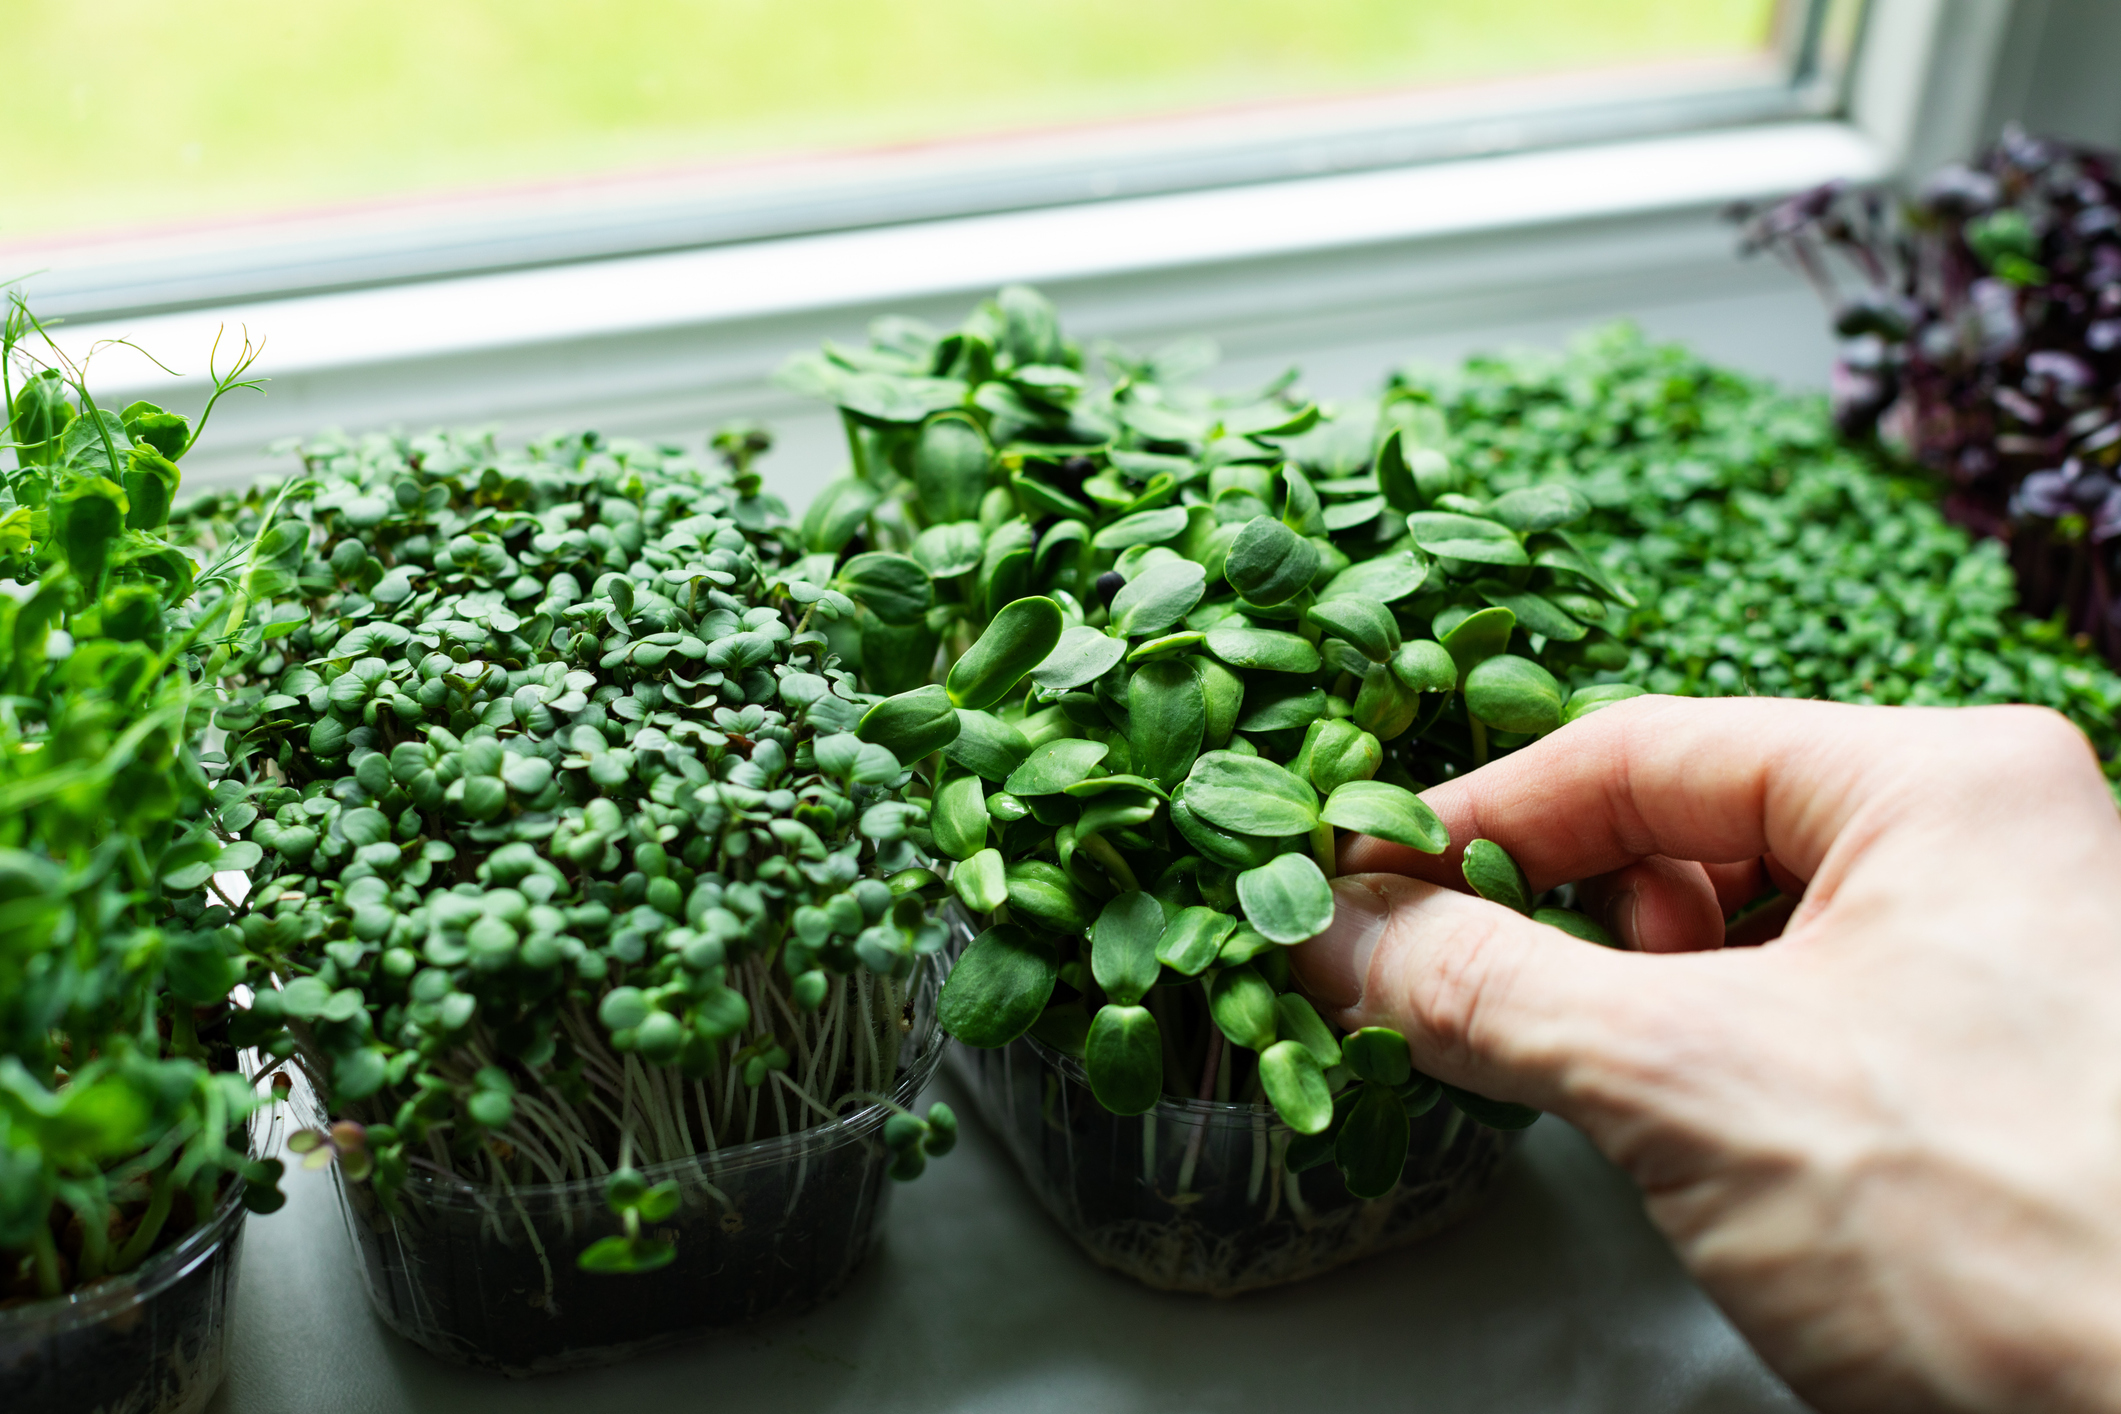
One of the biggest challenges when growing microgreens in November is light. Even indoors, shorter days and weaker winter sunlight can cause seedlings to become tall, thin and pale as they stretch towards the light.
A bright, south-facing windowsill is often a good starting point, although it's worth remembering that cold glass, draughts and radiators can create fluctuating temperatures.
If your home doesn't receive much natural light, a small LED grow light can help produce stronger, healthier seedlings. You don't need an elaborate setup, just sufficient light for consistent growth.
Try rotating trays occasionally if seedlings begin leaning towards the window.
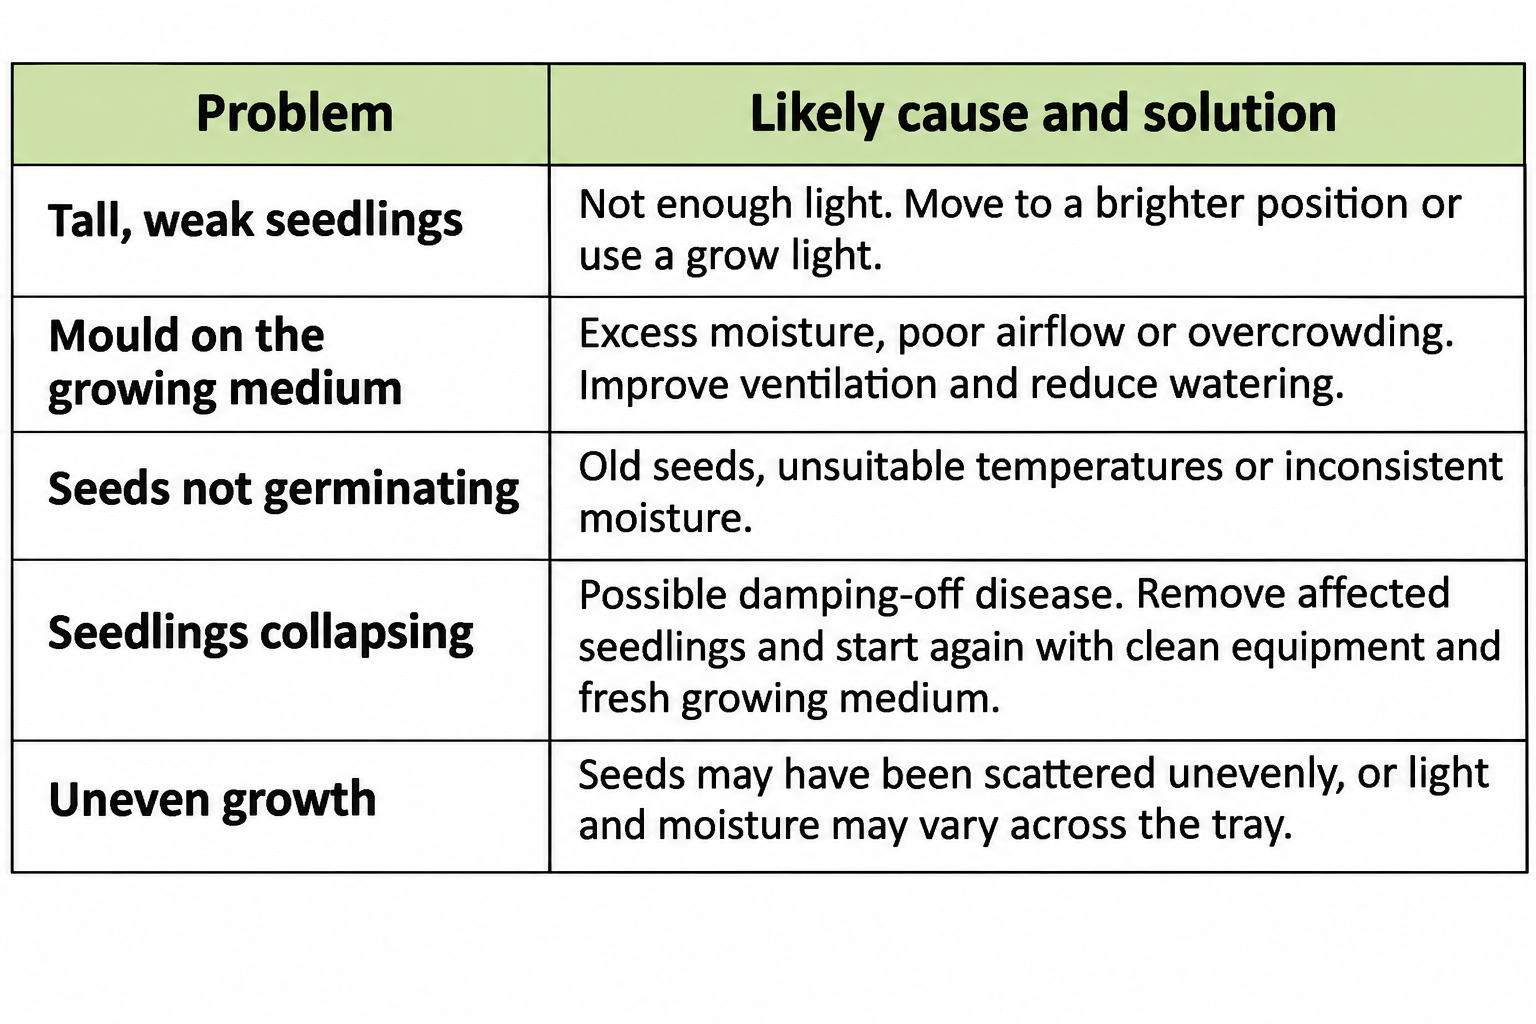
Common microgreen growing problems
A useful tip is to water from below once seedlings have established. This can help keep the foliage drier and reduce problems caused by excessive surface moisture.
If a tray develops visible mould, unpleasant smells or signs of decay, discard the crop rather than trying to salvage it.
Are microgreens really nutritious?
Microgreens have attracted attention for their nutritional value, and research suggests that some varieties contain concentrated levels of certain vitamins, minerals and plant compounds.However, nutritional content varies considerably depending on the crop, growing conditions and stage of harvest.
They're a useful addition to a varied diet, but they're not a replacement for eating a wide range of vegetables.
Their biggest appeal may simply be that they make it easy to add fresh, home-grown greens to meals, even in the middle of winter.


Five ways to use your microgreens
1. Add to sandwiches and toastRadish and rocket microgreens give sandwiches, wraps and avocado toast an extra peppery bite.
2. Finish soups
Scatter a handful of pea shoots over homemade vegetable soup just before serving.
3. Brighten winter salads
Mix different varieties for extra colour, flavour and texture.
4. Top eggs and omelettes
A handful of fresh greens makes a simple breakfast feel a little more special.
5. Garnish roasted vegetables
Add microgreens after cooking to bring freshness to hearty winter dishes.
Wash microgreens gently before eating, using clean water.
As with other raw produce, good hygiene is important, particularly for people more vulnerable to foodborne illness.
Can you grow microgreens sustainably?
Absolutely. Microgreens can be a simple way to extend your growing season while making use of limited space and materials you already have.
Rather than buying specialist trays, consider reusing clean food containers with suitable drainage holes. You can also experiment with peat-free growing media and grow only the quantities you're likely to eat.
Spent growing medium can often be added to your compost heap, provided it's free from disease and unsuitable contaminants.
However, it's worth considering the resources involved. Heated indoor growing systems and powerful artificial lighting use energy, so a naturally bright windowsill may be the more economical option where conditions allow.
Growing small batches regularly can also help reduce waste and ensure a steady supply of fresh greens.
Frequently asked questions
Can you grow microgreens without soil?
Yes. Some microgreens can be grown on suitable food-safe growing mats or other clean, moisture-retaining materials. However, seed compost is often the easiest option for beginners.
Do microgreens grow back after cutting?
Most varieties are best treated as a single-harvest crop. Some pea shoots may produce additional growth, but subsequent harvests are often smaller and less reliable.
How long do microgreens last after harvesting?
They're best eaten fresh, although thoroughly dried, harvested microgreens can often be stored in a clean container in the fridge for a few days. Discard any that become slimy or develop an unpleasant smell.
Can I use leftover vegetable seeds?
Some untreated vegetable seeds are suitable, but check the species and whether the seed has been chemically treated. Seeds specifically sold for edible microgreens are generally the simplest choice.
Can I grow microgreens throughout winter?
Yes. With adequate light, suitable temperatures and careful watering, you can sow successive trays throughout November, December and beyond.
Keep growing, even when the allotment is resting
November is often a time for clearing, protecting and planning rather than planting. But microgreens offer a reminder that growing your own food doesn't have to stop when the outdoor season slows down.
They're quick, inexpensive to try and ideal for anyone who enjoys the satisfaction of watching something grow from seed.
Why not start with a tray of radish or pea shoots this November? You could be enjoying your first harvest before the month is out.
And if you're missing those regular visits to the allotment, a little patch of green on the kitchen windowsill might be just what you need.
Are you growing microgreens this winter? We'd love to hear which varieties you've tried and whether you have any tips to share with fellow allotment growers.
Join The National Allotment Society
Become a National Allotment Society member and help to preserve and protect allotments for future generations.
You'll also gain a range of benefits including free liability insurance, initial legal support, expert advice and much more.
Non Member Newsletter Signup

National Society of Allotment & Leisure Gardeners Ltd
Registered in 1930 under the Industrial & Provident Societies Acts no. 11144R
VAT No. 1212930 14
Patron His Majesty King Charles III
© 2022-2023 National Society of Allotment & Leisure Gardeners Ltd