A Beginner’s Guide to Allotment Composting
Clearing a bed at the end of the season can leave you with a surprising amount of plant material. Rather than treating it all as waste, composting gives you a way to return suitable material to the soil and support the next round of growing.
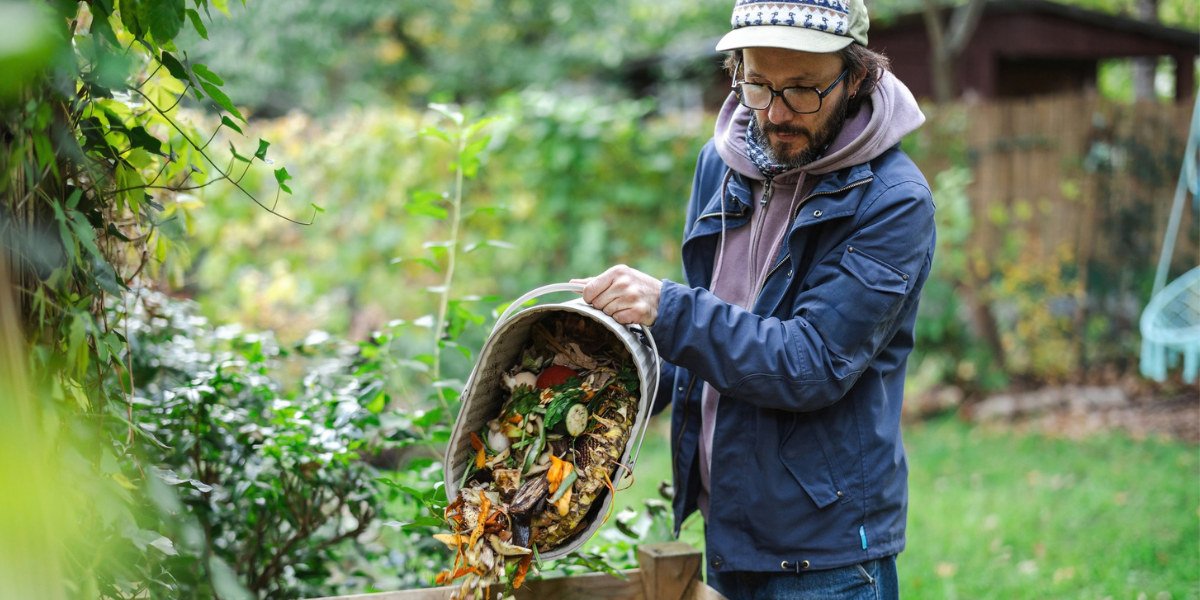
What is composting?
Composting is the natural breakdown of organic material by bacteria, fungi and other organisms. Suitable crop waste and food scraps gradually become a dark, earthy material that can be used to improve the soil. Air, moisture and a mixture of ingredients help the process work well.Why compost on your allotment?
Finished garden compost adds organic matter to the soil, helping its structure and moisture retention. Making your own also puts crop clearings and vegetable peelings to use and can reduce the amount of soil improver you need to buy.Composting fits naturally into the allotment year: clear a finished crop, add suitable material to the heap, then use the mature compost to help prepare beds for future planting.
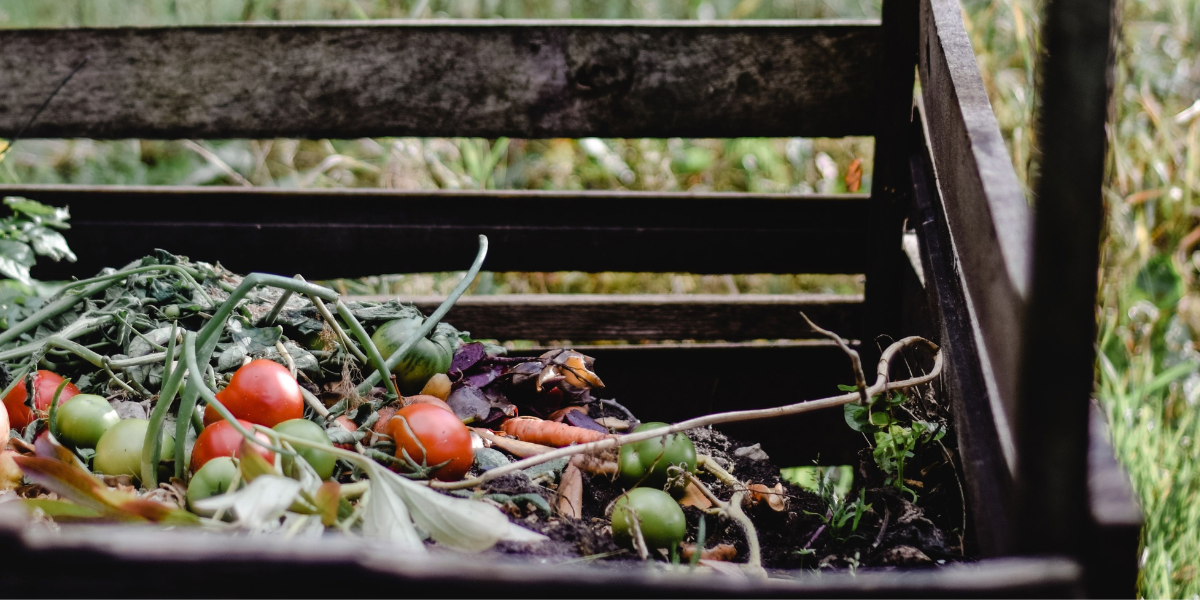
Choose a practical place
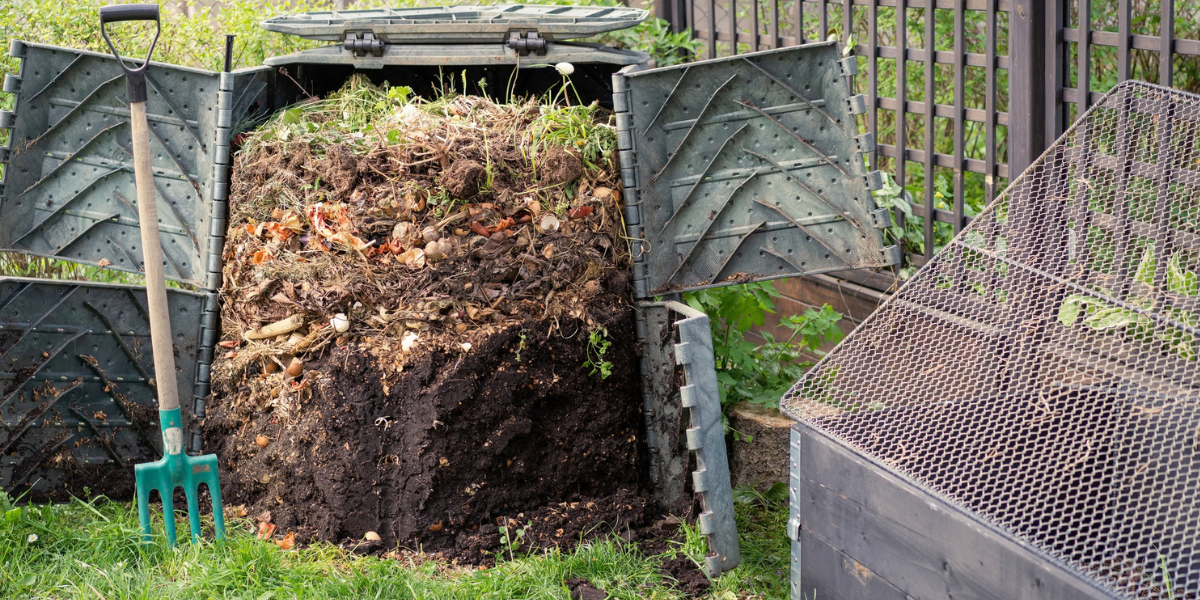
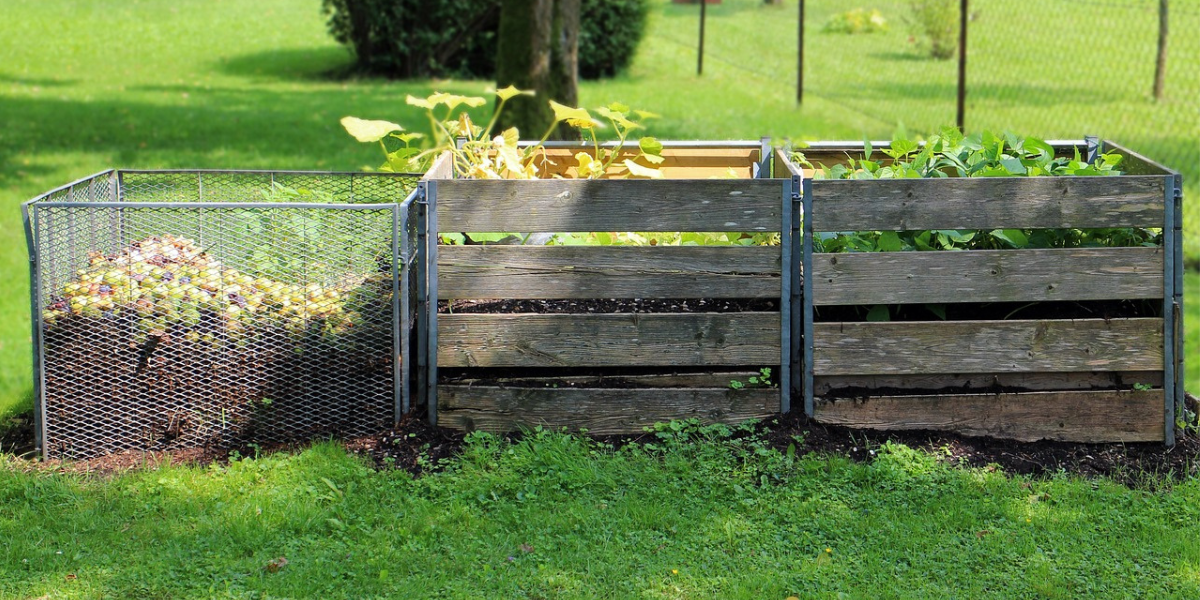
Before installing a bin, check your site’s rules and choose somewhere you can reach easily with a bucket or wheelbarrow. Leave room to open the bin and remove the finished material.A sheltered position in partial shade helps avoid extremes of drying and temperature. An earth base allows drainage and access for soil organisms. A compact bin can be enough to get started; if space allows, a second bin gives you somewhere to add fresh material while the first batch finishes.
Choose a composting method
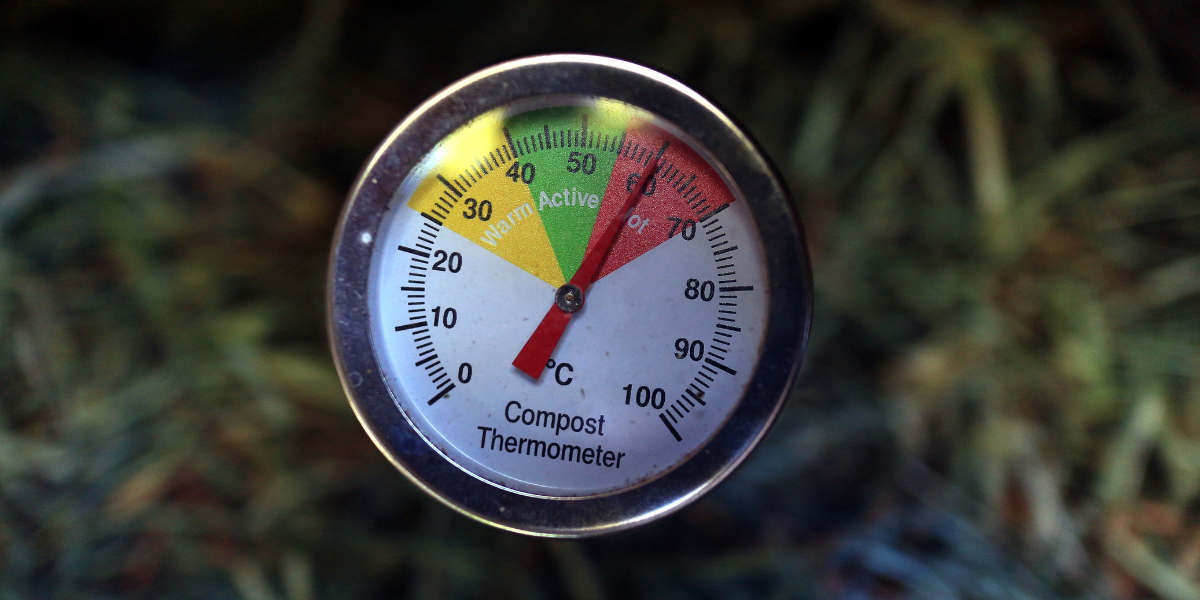
Cold composting: add suitable material as it becomes available. This is a straightforward starting point, although it takes longer to produce finished compost.Hot composting: build a larger batch with a good mix of ingredients and manage moisture and turning to generate heat. It can be faster, but needs more attention.
Worm composting: a wormery uses composting worms to process small, regular additions of kitchen scraps. It can complement an allotment heap, but is not suited to large amounts of woody crop waste.
For most beginners, an ordinary compost bin or bay is a practical first step. Choose a system that suits your space, the material you produce and the amount of handling you can manage.
What can go in?
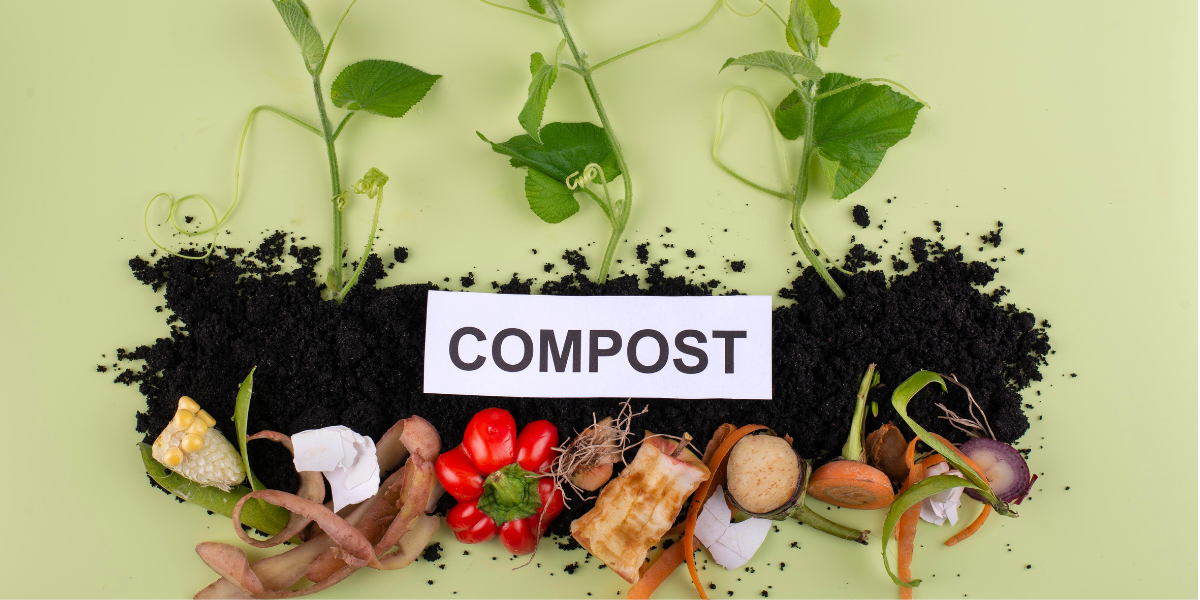
As a practical starting point, aim for one bucket of “greens” to one or two buckets of “browns”, measured by volume rather than weight. Adjust the mixture if the heap becomes too wet or too dry. These names describe the type of material, rather than simply its colour.Greens include vegetable peelings, coffee grounds, soft crop trimmings, grass cuttings and young annual weeds before they set seed.
Browns include torn plain cardboard, egg boxes, straw, dried leaves, dry stems and small chopped woody prunings.
Mix different ingredients together. A large load of grass cuttings or peelings alone can become wet and compacted. Keep some torn cardboard or dry stems nearby to mix in when you add fresh green material. Remove plastic tape and avoid plastic-coated packaging.
What should stay out?
Keep meat, fish, dairy products and cooked food out of an ordinary heap, as these can attract vermin. Do not add dog or cat waste, plastics or coal ash.For a beginner’s heap, leave out weed seed heads and persistent perennial weed roots, such as bindweed and ground elder. A slow, cool heap may not kill them, and you could return the problem to your beds.
Do not add plants affected by soil-borne diseases such as clubroot or onion white rot. If you cannot identify a plant disease, keep that material separate and seek advice on suitable disposal. Check what your local green-waste service accepts rather than assuming everything can go in.
Start your first heap in five steps
Prepare the base. A few small twigs or coarse stems can help create air spaces and drainage at the bottom of the bin.Prepare the ingredients. Chop bulky stems and tear up cardboard to help them break down.
Mix greens and browns. Combine soft material with dry, fibrous ingredients rather than adding thick layers of one item.
Check moisture. Aim for damp material, like a wrung-out sponge. Add a little water if it is dry and cover against excessive rain.
Introduce air. Mix or turn when practical, loosening compacted material. This can speed decomposition, but a balanced heap can also work more slowly with less handling.
Once you have a batch you want to leave to finish, stop adding fresh waste and begin another bin or collection area. Keeping fresh material separate makes it easier to judge when the first batch is ready.
Solve common problems
Wet or smelly: mix in dry browns, loosen compacted material and check that rain is not soaking the heap.
Dry and hardly changing: add some moisture and more soft green material, then mix.
Large stems still visible: chop them smaller or return them to the next batch.
Autumn brings plenty of material, but decomposition slows in colder weather. A quiet-looking heap over winter does not necessarily mean it has failed.
When is compost ready?
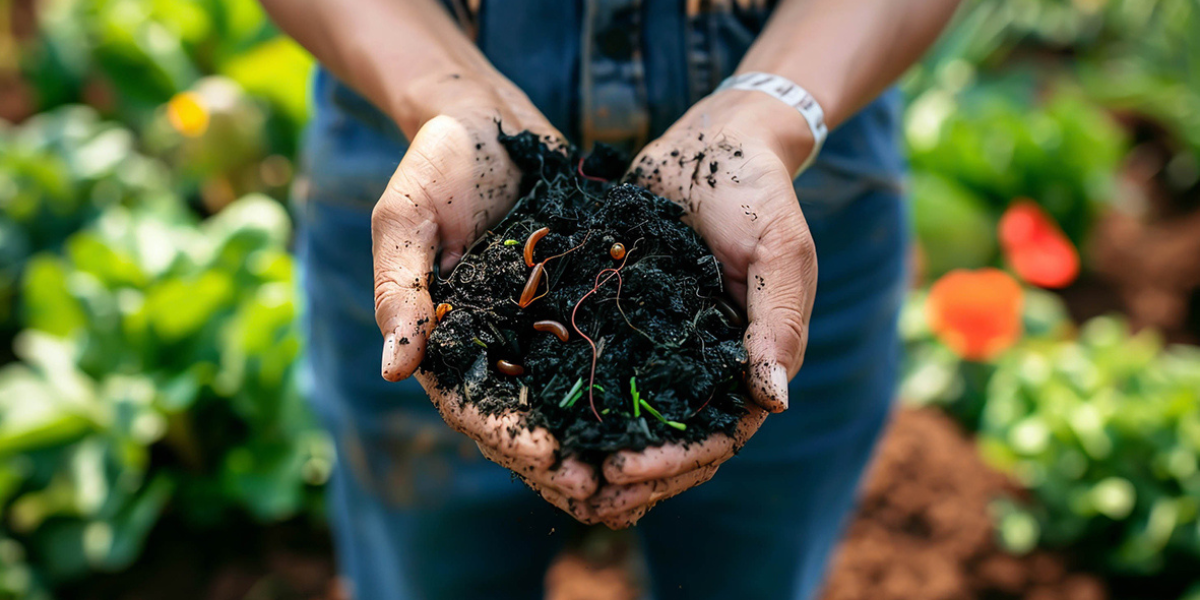
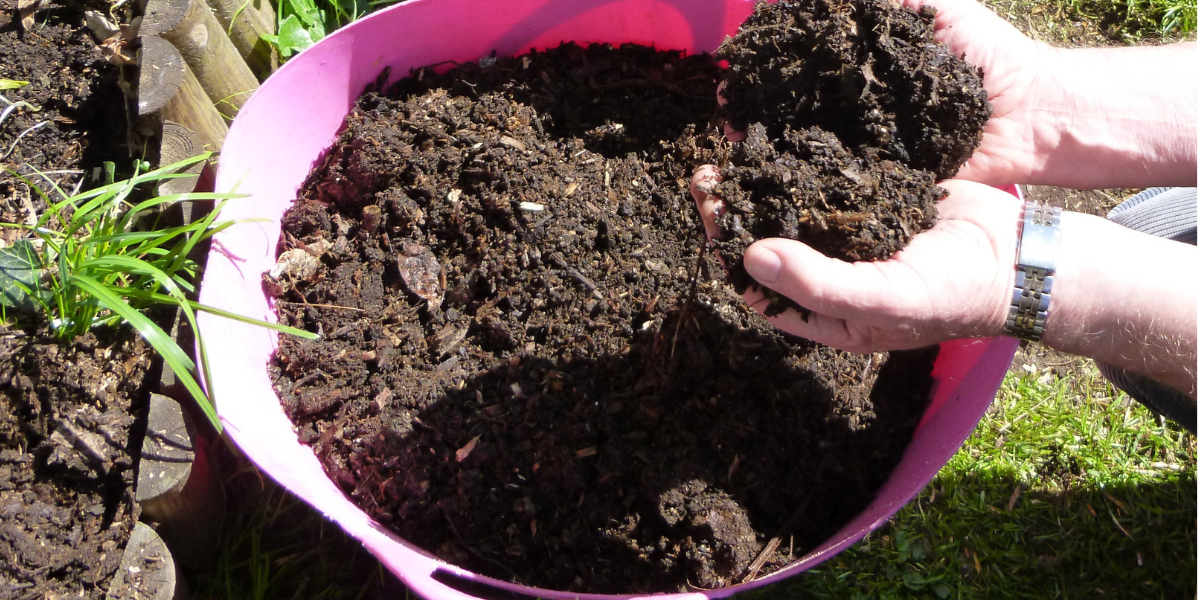
Ordinary garden compost commonly takes six months to two years, depending on the ingredients, weather and management. Look for dark, crumbly material with an earthy smell, rather than relying on a date alone. Return recognisable, unfinished pieces to the next batch.
Put the finished compost to work
Use mature compost as a surface mulch or soil improver. On established beds, spread it around plants while keeping it clear of their stems. It can also be incorporated lightly when preparing suitable ground.Garden compost is different from seed or potting compost. Do not assume your homemade compost will suit seedlings or containers on its own; use an appropriate peat-free growing medium or a suitable prepared mixture.
An autumn extra
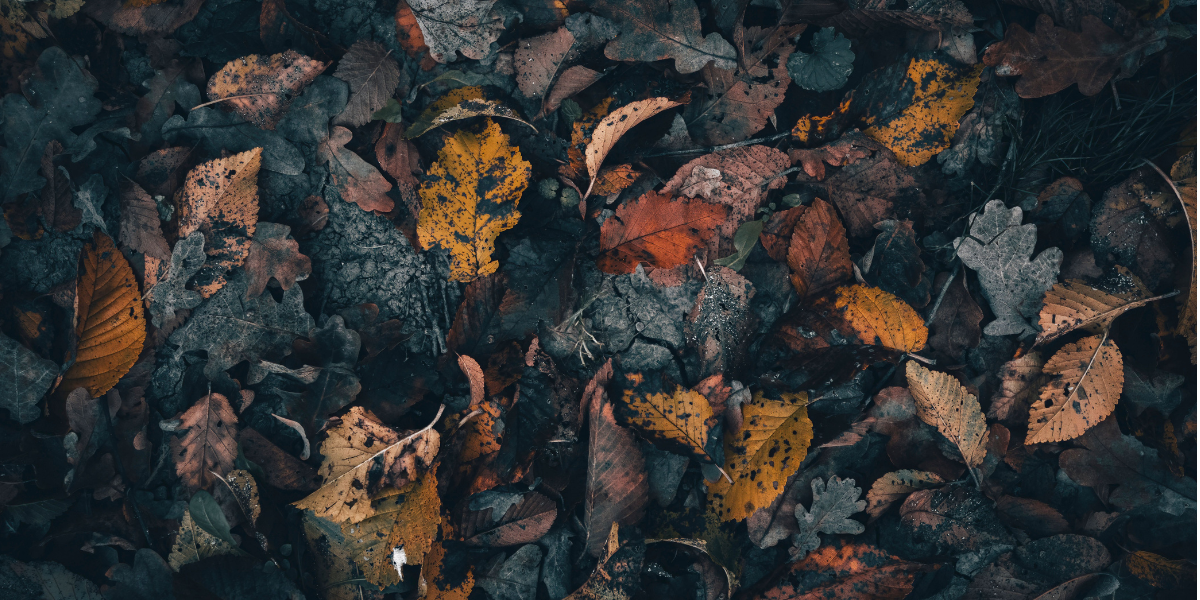
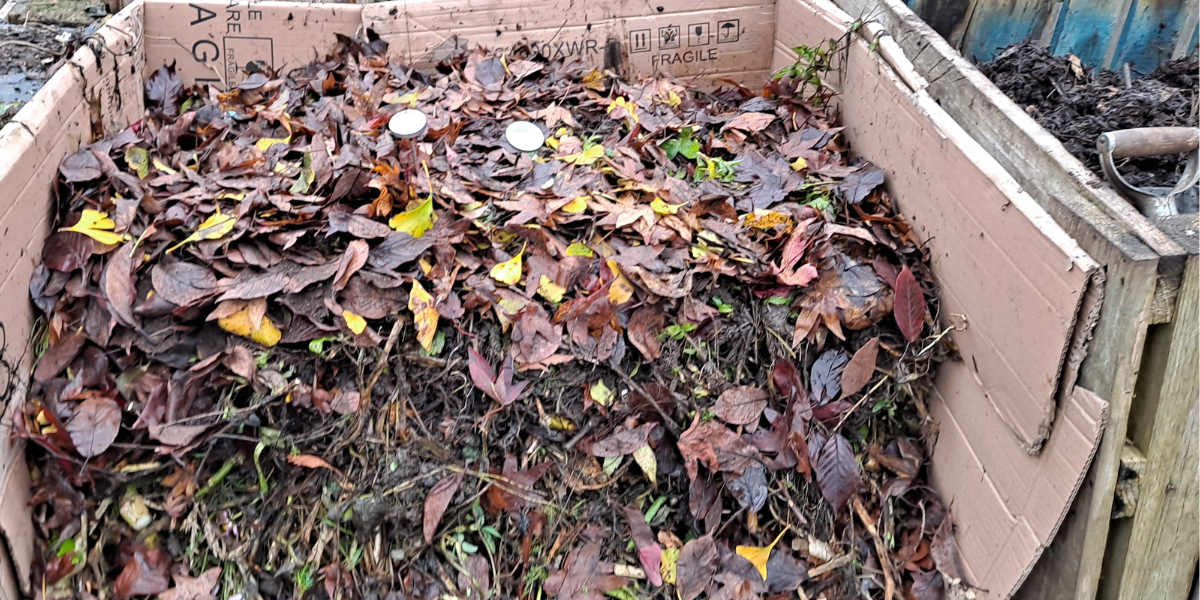
If you have lots of fallen leaves, consider collecting them separately for leaf mould rather than filling the whole compost bin. Keep them damp in a suitable container and give them time to break down. This leaves space for your regular mixture of crop waste and browns.Start with what you have
Choose your bin, save suitable material and adjust the mixture as you go. Each batch will teach you more about what works on your plot. Composting is a practical way to make soil care part of everyday allotment gardening.For more growing advice and support, explore membership of the National Allotment Society at thenas.org.uk/joinus
Join The National Allotment Society
For more growing advice and support, explore membership of the National Allotment Society at thenas.org.uk/joinus.
Become a National Allotment Society member and help to preserve and protect allotments for future generations.
You'll also gain a range of benefits including free liability insurance, initial legal support, expert advice and much more.
Non Member Newsletter Signup

National Society of Allotment & Leisure Gardeners Ltd
Registered in 1930 under the Industrial & Provident Societies Acts no. 11144R
VAT No. 1212930 14
Patron His Majesty King Charles III
© 2022-2023 National Society of Allotment & Leisure Gardeners Ltd